Translate the feed
Connect your store to third-party translation services to get a product feed in any supported language.
Supported translation options
Mulwi supports these translation services:
- Shopify translation apps (Langify, Shopify Translate & Adapt, LangShop, etc.)
- Google Translate
- Weglot
- DeepL
We are constantly working to expand the list of supported Shopify translation apps.
To find out if Mulwi supports your Shopify translation app, please reach out to our support team.
Configure translation
Obtain an API key for the external translation service
NOTE
If you're using a Shopify translation app, skip this step and proceed directly to enabling translation in Mulwi.
If you plan to use Google Translate, Weglot, or DeepL, you'll first need to obtain an API key from that external service. This key will be required later when you connect the service to Mulwi.
Follow the steps below to get the API key from your chosen translator:
Google Translate
- Log in to your Google Cloud platform dashboard.
- Create a new project.
- Enable the Cloud Translation API for your project.
- In the Cloud Translation API dashboard, go to the Credentials tab and select Create credentials > API key.
- Wait for Google to generate an API key and copy it from the API Key section.
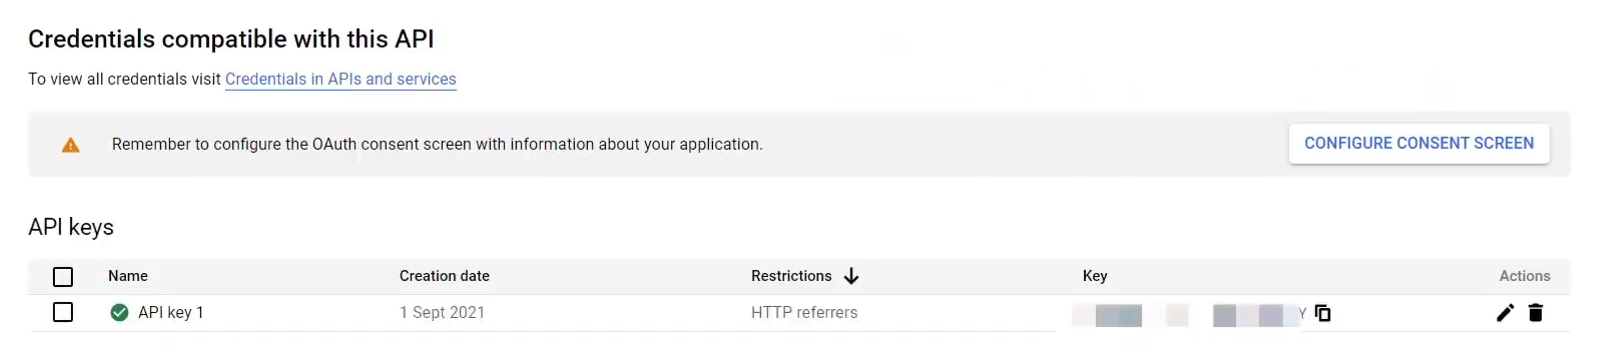
Google Translate API Key
Weglot
- Log in to your Weglot dashboard.
- From your project page, go to Settings > Setup.
- You will find the API key in the API key section.
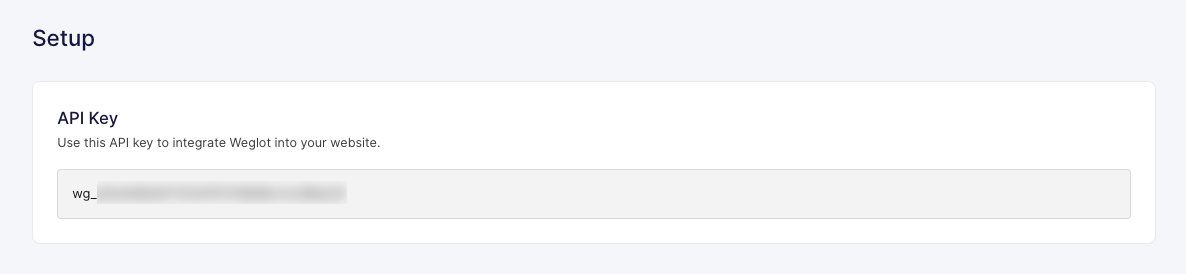
Weglot API Key
DeepL
- Log in to your DeepL dashboard.
- On your account profile page, go to the API Keys tab.
- You will find an automatically generated API key in the API Key section.
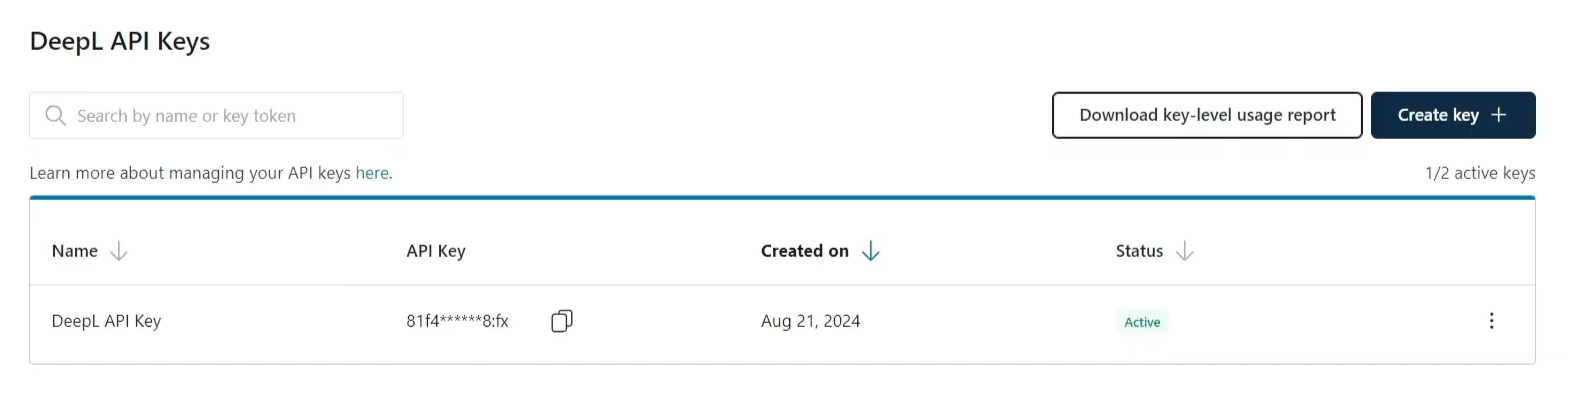
DeepL API Key
Once you've obtained the API key, you can proceed to enabling translation in Mulwi.
Enable Translation in Mulwi
NOTE
To use Google Translate, Weglot, or DeepL, you first need to obtain an API key from that service.
To enable translation in Mulwi, log in to your Shopify store admin and follow these steps:
- Go to Apps > Mulwi Feeds > Settings.
- In the Miscellaneous section, find the Translation service setting.
- Enable the Use a translation service option.
- Click the radiobutton next to the translation service you need.
- If you selected Google Translate, Weglot, or DeepL, provide the service's API key in the API key input field.
- Click Save at the top of the page to apply new settings.
After saving, you can start using your service to translate the feed.
Translate the feed
When you translate your store into a new language, your data is translated by an external translation service, and the generated translations are then saved in a separate database.
For example, Shopify translation apps like Langify store translations in GraphQL files.
Instead of retranslating the feed every time, Mulwi fetches translations from this database, thus saving you time and resources.
NOTE
Using external translation services may result in additional costs.
Select the attributes to translate
If you're using a Shopify translation app, you don't need to do anything.
In this case, all the available attributes will be translated automatically.
If you're using Google Translate, Weglot, or DeepL, you need to add the | t Liquid modifier to the attributes you want to translate.
All preinstalled templates add this modifier to the feed title and description by default.
To add the | t modifier to other attributes, you need to customize your template.
You can use this modifier in both CSV/TXT and XML feeds.
How to use the modifier in a custom CSV/TXT feed template
- Navigate to the feed you want to translate.
- Click Edit template in the Template section.
- In the Columns section, click the gear icon next to the required attribute.
- Click the Add modifier button under the required attribute.
- Select Translate in the new dropdown menu that appeared.
- Repeat steps 3-5 for all required attributes.
- Click Save at the top of the page to apply new settings.
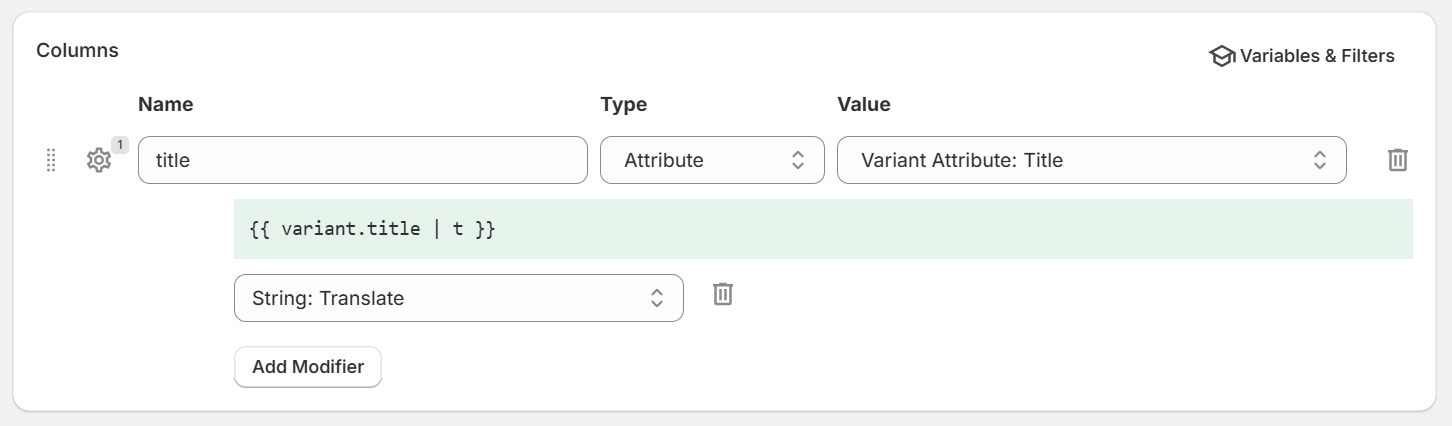
Translation modifier in a CSV/TXT feed template
How to use the modifier in a custom XML feed template
- Navigate to the feed you want to translate.
- Click Edit template in the Template section.
- Find the required attribute in the Template and place the modifier after the attribute's Liquid object:
{{ object.attribute | t }}.
For example:<title>
{{ variant.title | t }}
</title> - Repeat step 3 for all required attributes.
- Click Save at the top of the page to apply new settings.
Select the translation language
To configure the translation language, follow these steps:
- In your Shopify admin, go to Apps > Mulwi Feeds > Feeds.
- Click Edit next to the feed you need.
- Find the Translation section.
- In the Language field, choose the required language from the dropdown menu.
- Click Save changes at the bottom of the page to apply new settings.
After you select the language, all the attributes you've selected will be translated automatically.
NOTE
If you're using a Shopify translation app, only the languages your store has been translated into will be available.
If you don't see a language that already exists in your store, click the Synchronize now option to schedule a sync.
Once the synchronization is complete, try selecting the translation language again.
If you see a warning and a Set up translation service button in the Translation section, it means that translation is disabled.
In this case, you first need to enable translation in Mulwi's settings.
If you click the button in this section, Mulwi will automatically take you to its Settings page.
